In the late 1980's I had four CushCraft A32-19 yagis and a kW for my
first ever EME activities on 2-M. I managed to make 5 QSO's (CW)
including K1FO and WA1JXN/7 (Now W7GJ!) before the antennas fell.
From
1992 to 1995 I operated 70cm EME beginning with my first ever 70cm EME
QSO - DL9KR on 18-October-1992. This was before WSJT or JT65 were
invented so almost all QSO's were CW except for one on SSB with VE3ONT
who was operating a 150-foot dish antenna! I used four K1FO 25-element
yagis and a kW and I made at least 74 "Initials" on 70cm EME.
In November 2017 I installed two 13-L InnovAntenna yagis for 2-M and with a kW from a W6PQL amplifier, over the next 6 years I completed 345 EME QSO's with 278 "Initials" and 64 DXCC Entities. That station is now temporarily QRT due to a failure in the elevation mechanism.
In 2022 and 2023 I was able to make a couple of EME QSO's with KJ9I on 6-M. I was using an 8-L InnovAntenna LFA2 yagi at 28m AGL with up to 1.5kW. But, although Lance, W7GJ, heard me on 3 of his DX'peditions, I was never able to hear him.
Now, after having completed EME QSO's on 6-M, 2-M, and 70cm, I felt it was time to explore a new EME band - 23cm (also known as 1296 MHz.) Over the past few years there have been huge improvements in equipment for this band and it is possible to purchase all needed items off-the-shelf without the need to "home-brew" any of the needed equipment. I had delayed moving to this band for several years because my location was not suitable for a parabolic dish antenna (mounted on the ground) to see the moon in the part of the sky which favors Europe. Too many trees! However, Paul Andrews, W2HRO, has developed and is marketing a lightweight, folding parabolic dish which uses space-age RF reflective fabric. His company, Sub-Lunar, sells folding dishes in several sizes, patch feeds, OK1DFC Septum feeds, WinTrack Software/Hardware from N8CQ, Az-El positioners, and many other products to support EME operation. This "portable" dish concept allowed me to consider other locations on my lot where I could "temporarily" install the antenna with a better view of the moon.
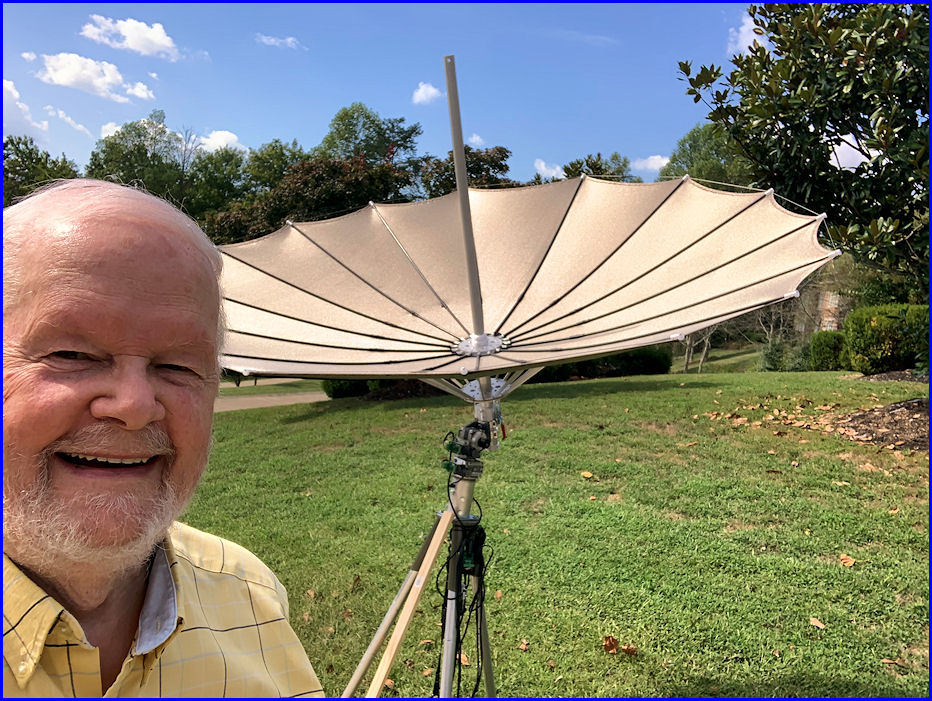
I decided to go with a 1.8m dish (just under 6-feet in diameter) because it was lighter and easier to install and remove. The 2.4m dish would add about 2 dB to TX and RX signals but I was concerned that I might not be able to handle that larger antenna by myself. The antenna folds and unfolds like an umbrella! But it is not weather proof in any of its components and is sensitive to wet and wind! For that reason, it is a "temporary" antenna. I plan to only use it when the weather and moon conditions are favorable.
UPDATE 2025-08-20 - After talking to several EME'ers and checking with W2HRO at Sub-Lunar, I opted to change my folding dish order to a 2.4m version. Paul (W2HRO) said he felt I would have no problems with the larger dish. The earlier models were a little tight but no more. Bigger is better they say! - As it turned out, I was able to install the 2.4m dish just fine!
Considering this would be a "temporary" set-up, I decided to purchase a rolling cart that could hold all the equipment (power supplies, amplifier, laptop, etc.) and thus it would be extremely simple to just roll the cart out of the garage, erect the antenna, connect the feedlines, and be on the air.
A recent improvement in folding dish setups is the OK1DFC Lightweight Septum Feed. Originally those stations with a folding dish used a "Patch Feed." But on 23cm (1296 MHz) EME signals use circular polarization. In order to get circular polarization from a patch feed, you need to incorporate a 90° hybrid to provide circular polarization. However, to switch between LHCP (Left-Hand Circular Polarization) and RHCP (Right-Hand Circular Polarization), a power relay and a set of cables are also required. A key advantage of the septum feed is its ability to generate both RHCP and LHCP simultaneously! This eliminates the need for a 90° hybrid. Also many hybrids are not exactly 90° so that results is less than optimal operation. And, 90° hybrids are limited in the amount of power they can handle - often only in the 200-watt range.
Other major components include a preamplifier and a high power amplifier. Thankfully AG6EE has been building both. His pre-amp has about 30 dB of gain, with a built-in relay and dummy load - and can connect directly to septum feed without a jumper. His 23cm amplifier is spec'd for 600W out (max 700W) and splits the input into TX and RX lines, the RX line has sequenced DC voltage to feed the preamplifier through the coaxial cable.
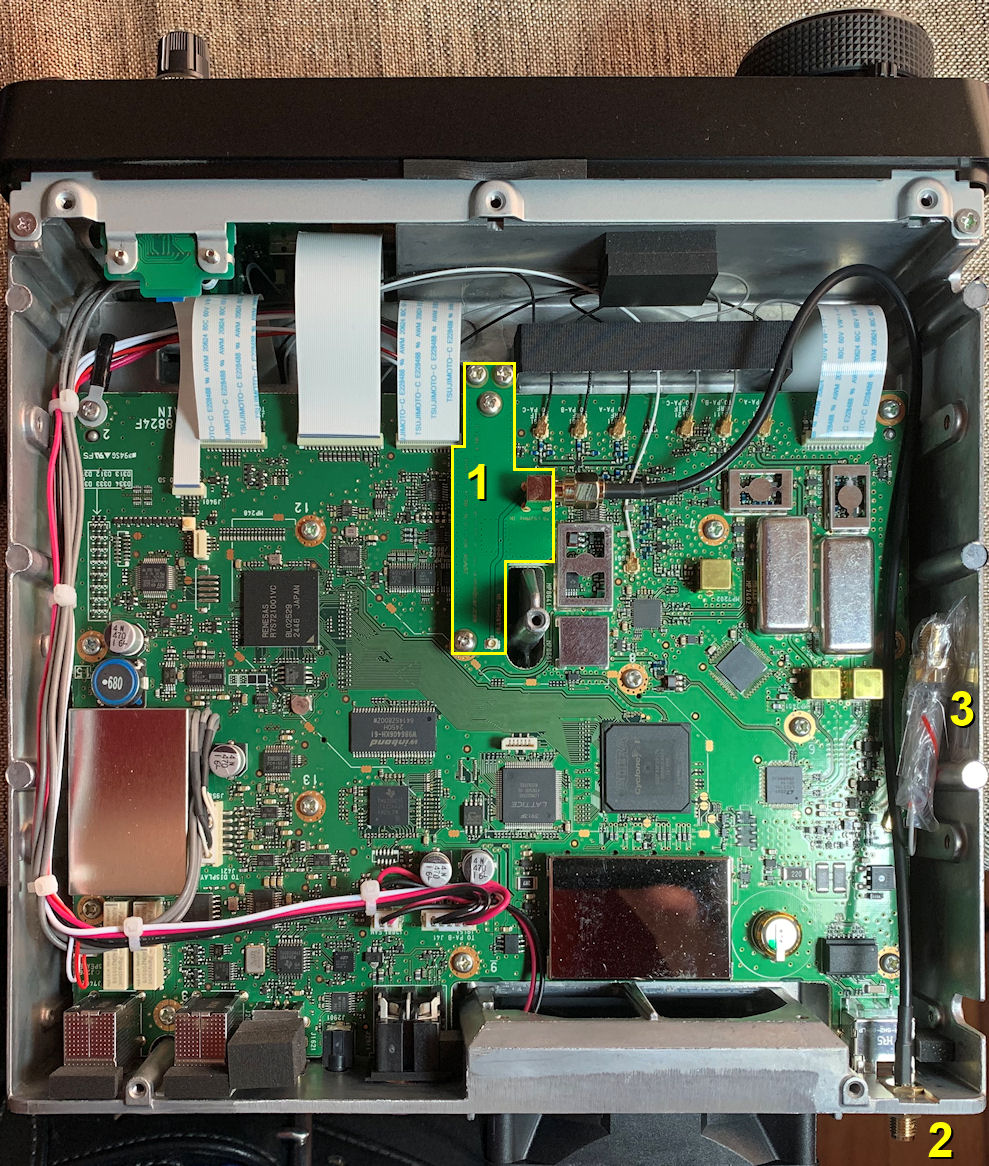
Since I have not operated on 23cm for 24 years (and all that equipment is gone) I needed to acquire a transceiver to operate on 23cm. I chose the Icom IC-9700. There is a know frequency drift problem with that radio on 23cm so I ordered a GPSDO from Leo Bodnar to incorporate inside the IC-9700 with an external GPS antenna included. In order to install the Leo Bodnar injection board inside the IC-9700, it is necessary to open the case of the radio. That requires a special screwdriver. A P2x100 #2 JIS Cross Point Impact Screwdriver is what I ordered from Amazon. And, a laptop would also be required so I purchased a refurbished Dell 5500 Win10 from Amazon utilizing an 8th Generation Intel Core i7 with a 512GB SSD Hard Drive and 32GB DDR4 RAM. To power the radio and the pre-amp I bought a PowerWerx 30A 14.1 VDC Power Supply, and to power the amplifier, I purchased a Mean Well RSP-2000-48 VDC Power Supply from DigiKey.
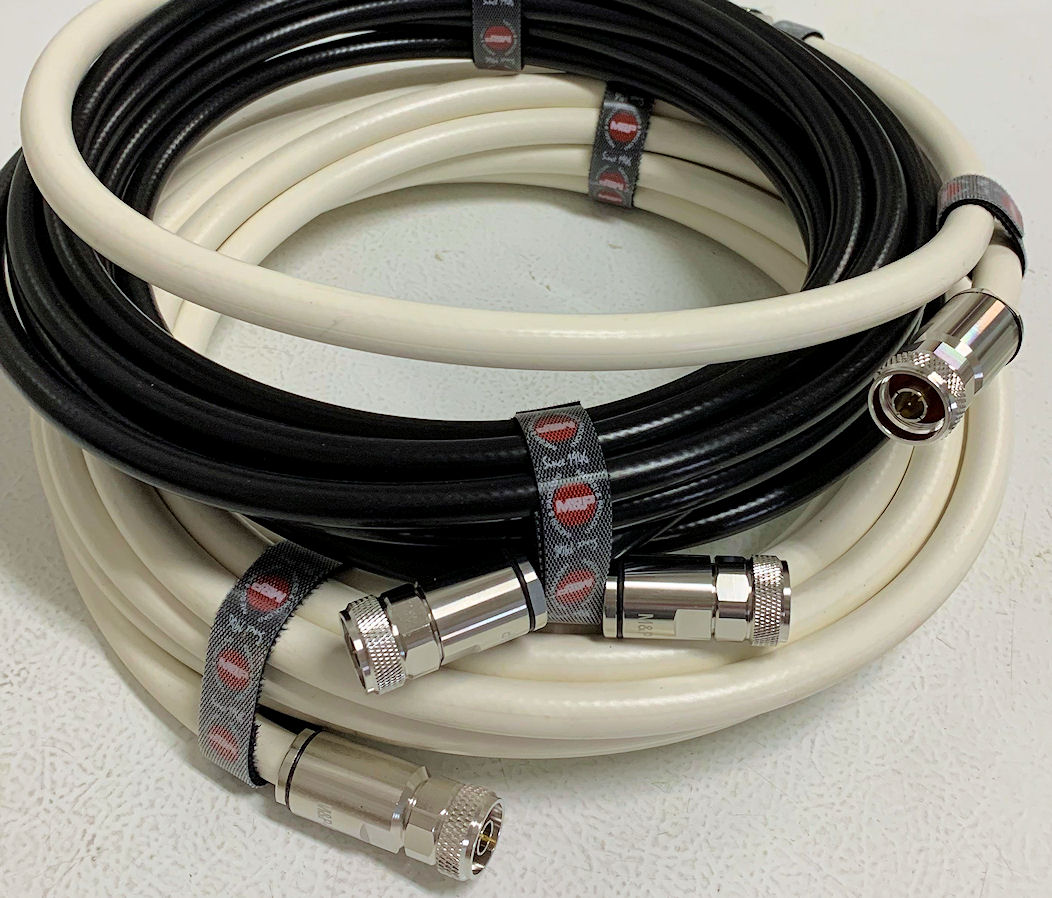
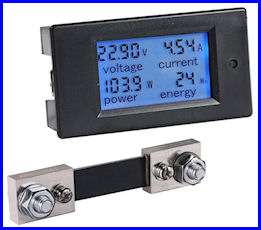
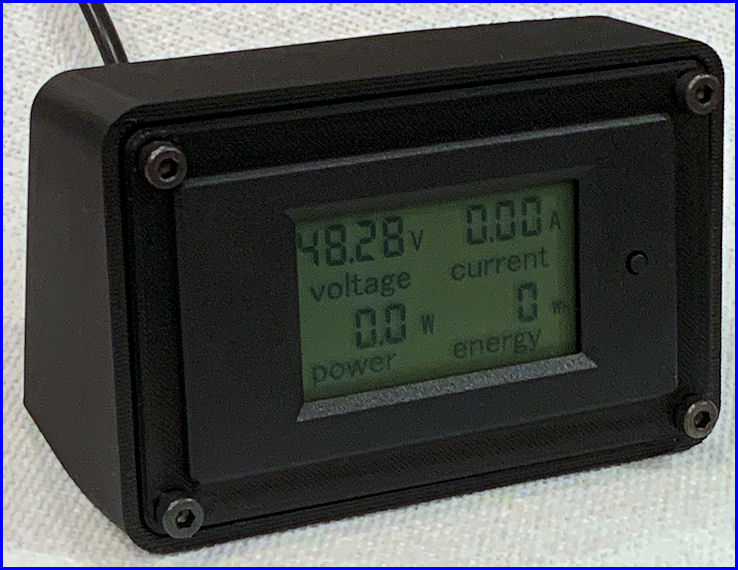
Several other minor items were also purchased - a 23cm Coaxial Dynamics 1kW element for my Bird 43 wattmeter, a WaveNode® WN-2m digital wattmeter with 500-watt 23cm sensor, 6.5m feed lines from Messi & Paoloni in Italy, a 50-foot 12/3 extension cord, an AC power strip, a spiral ground anchor to hold the dish tripod down, an LED keyboard lamp, a Shielded/Filtered USB Cable for the IC-9700, and so on. Then a fair amount of time was spent downloading and installing multiple pieces of software on the computer. I worked on this project every day with the goal of being operational on 23cm EME in time for the ARRL EME Contest on October 11/12. Fingers crossed! = SUCCESS! I am now operational on 23cm EME!!!!!!!